For years, gluten-free baking had a bit of a bad reputation—dense, crumbly, and far from satisfying. Sound familiar? If you’ve ever struggled to bake gluten-free treats that actually taste amazing, you’re not alone.
This guide has completely transformed the way we think about gluten-free baking. With smart techniques and foolproof recipes, you can create baked goods that are every bit as delicious as the traditional ones. Say goodbye to compromise and hello to cookies, cakes, and bread that rival the real thing.
Ready to turn doubt into pure delight? Let’s dive in and make gluten-free baking a joy—not a challenge!
The Science Behind Gluten-Free Success
Gluten, the protein in wheat, is what gives bread its bounce and pasta its structure. But take it away, and things get tricky. So how do you recreate that magic? It takes creativity, innovation, and a touch of culinary science! Here are some key points to help you master the art of gluten-free baking.
Mastery begins with understanding substitutes
When baking without gluten, it’s essential to understand the role that each ingredient plays in creating the final texture and flavor of your baked goods.
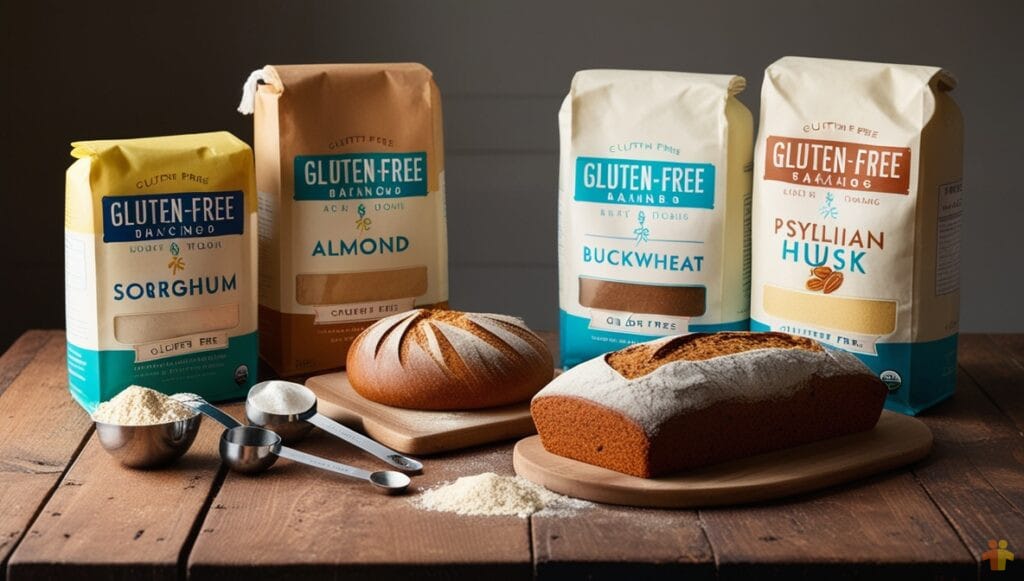
- Binders – Hydrocolloids – like xanthan gum and psyllium husk mimic gluten’s binding properties.
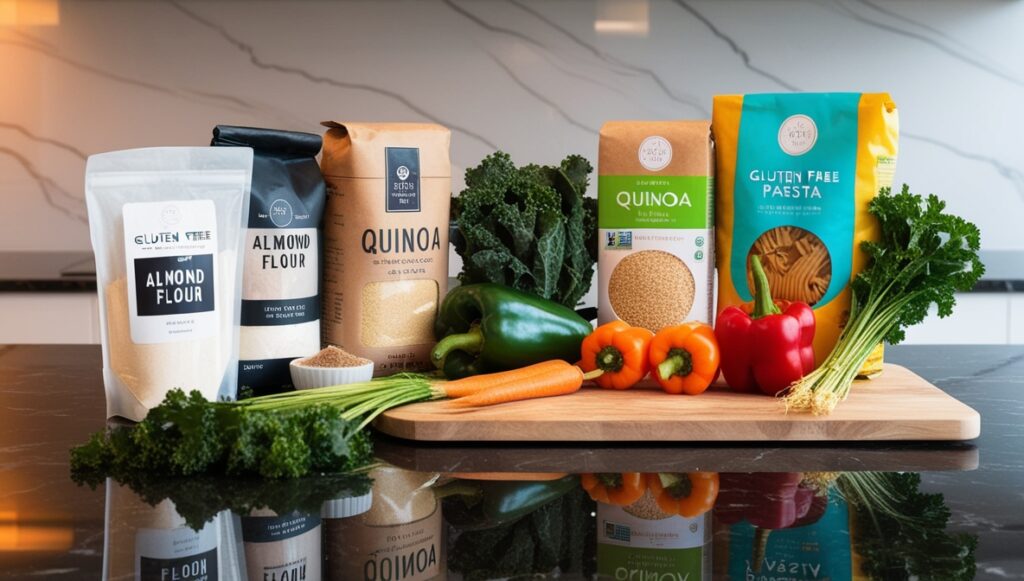
- Flour substitutes – Flour Blends such as sorghum, teff, and buckwheat offer a perfect balance of protein, starch, and flavor.
- Fermentation techniques – such as sourdough starters, enhance the texture of bread.
- Leaveners – Yeast is common in traditional bread, but without gluten, it won’t work the same. Instead, use baking powder or baking soda to add rise and volume to your baked goods.
By understanding gluten’s function, bakers uncover the key to creating light, airy breads and perfectly moist cakes.
Flour Power – Crafting the Perfect Gluten-Free Blend
The cornerstone of Gluten-Free Baking Mastery lies in flour selection. Single flours often fail, but blends triumph:
- Starches (tapioca, potato) impart lightness.
- Base flours (brown rice, oat) add structure.
- Nutrient-dense options (almond, coconut) enrich flavor.
A winning ratio?
Try 60% base flour, 30% starch, and 10% nutrient-dense flour.
Experimentation is key—each blend unveils new dimensions of taste and crumb.

The Magic of Binders – Beyond Xanthan Gum
Binders are the unsung heroes of gluten-free mastery. While xanthan gum is popular, alternatives like:
- Psyllium husk (adds chewiness to bread)
- Chia seeds (boosts moisture in cakes)
- Aquafaba (whipped into meringues)
offer diverse textures.
For every cup of flour, ½ tsp of binder suffices—excess leads to gummy results.
Hydration Mastery -The Key to Moisture
Gluten-free doughs thirst for hydration. Unlike traditional recipes, they require 10–15% more liquid. Techniques include:
- Autolyzing: Resting dough to absorb water fully.
- Egg whites or yogurt: Introducing proteins for tenderness.
- Oil infusion: Using avocado or olive oil for richness.
Patience is vital—allow batters to rest 30 minutes before baking for optimal rise.

Advanced Techniques – Fermentation and Sourdough
Fermentation isn’t just for gluten lovers. A gluten-free sourdough starter (using buckwheat or rice flour) develops complex flavors and airy textures. Steps:
- Feed starter daily for 7 days.
- Combine with psyllium gel for elasticity.
- Bake in a Dutch oven to trap steam.
The result? Tangy, crusty artisan bread that defies expectations.

Artisan Bread: A Step-by-Step Masterclass
Recipe -Teff and Sorghum Sourdough
- Ingredients – 150g teff flour, 100g sorghum flour, 50g tapioca starch, 100g active starter, 10g psyllium husk, 300ml water, 5g salt.
Method:
- Mix flours, starch, and psyllium.
- Add starter, water, and salt; knead 10 minutes.
- Ferment 8 hours. Shape, proof 2 hours.
- Bake at 450°F (230°C) in a preheated Dutch oven for 30 minutes.
This loaf boasts a crackling crust and open crumb—proof that gluten-free baking mastery delivers.
This loaf features a crisp, crackling crust and a beautifully open crumb—clear proof that gluten-free baking can achieve perfection.

Decadent Cakes – Light, Fluffy, and Flavorful
The true triumph of a gluten-free chiffon cake lies in its texture.
- Use egg whites whipped to stiff peaks.
- Fold in a blend of sweet rice flour and potato starch.
- Add apple cider vinegar for tenderness.
The result? A cloud-like crumb that melts on the tongue.

Troubleshooting Common Pitfalls
- Crumbly Texture: Increase binders or hydration.
- Dense Loaves: Extend fermentation time.
- Gummy Centers: Reduce starch content; bake longer at lower temps.
Each challenge is a step towards mastery, refining skill and intuition.

Conclusion: Embrace the Art of Gluten-Free Mastery
Gluten-Free Baking Mastery isn’t a compromise, it’s an evolution. With precision, creativity, and the right techniques, every bake becomes a celebration of flavor and texture. Whether crafting rustic bread or delicate pastries, this guide empowers you to redefine gluten-free, one irresistible creation at a time.